
Aging Terra Cotta Pots DIY
Firstly, I picked up a bunch of terra cotta pots in various sizes from the dollar store on the cheap! I’m not going to lie it was a little trial and error with a few different products and once I knew what I was looking for I found a product at the garden centre called Glacial rock Dust. It is a combination of ground minerals, which is what gives pots their aged crusty appearance over time naturally.
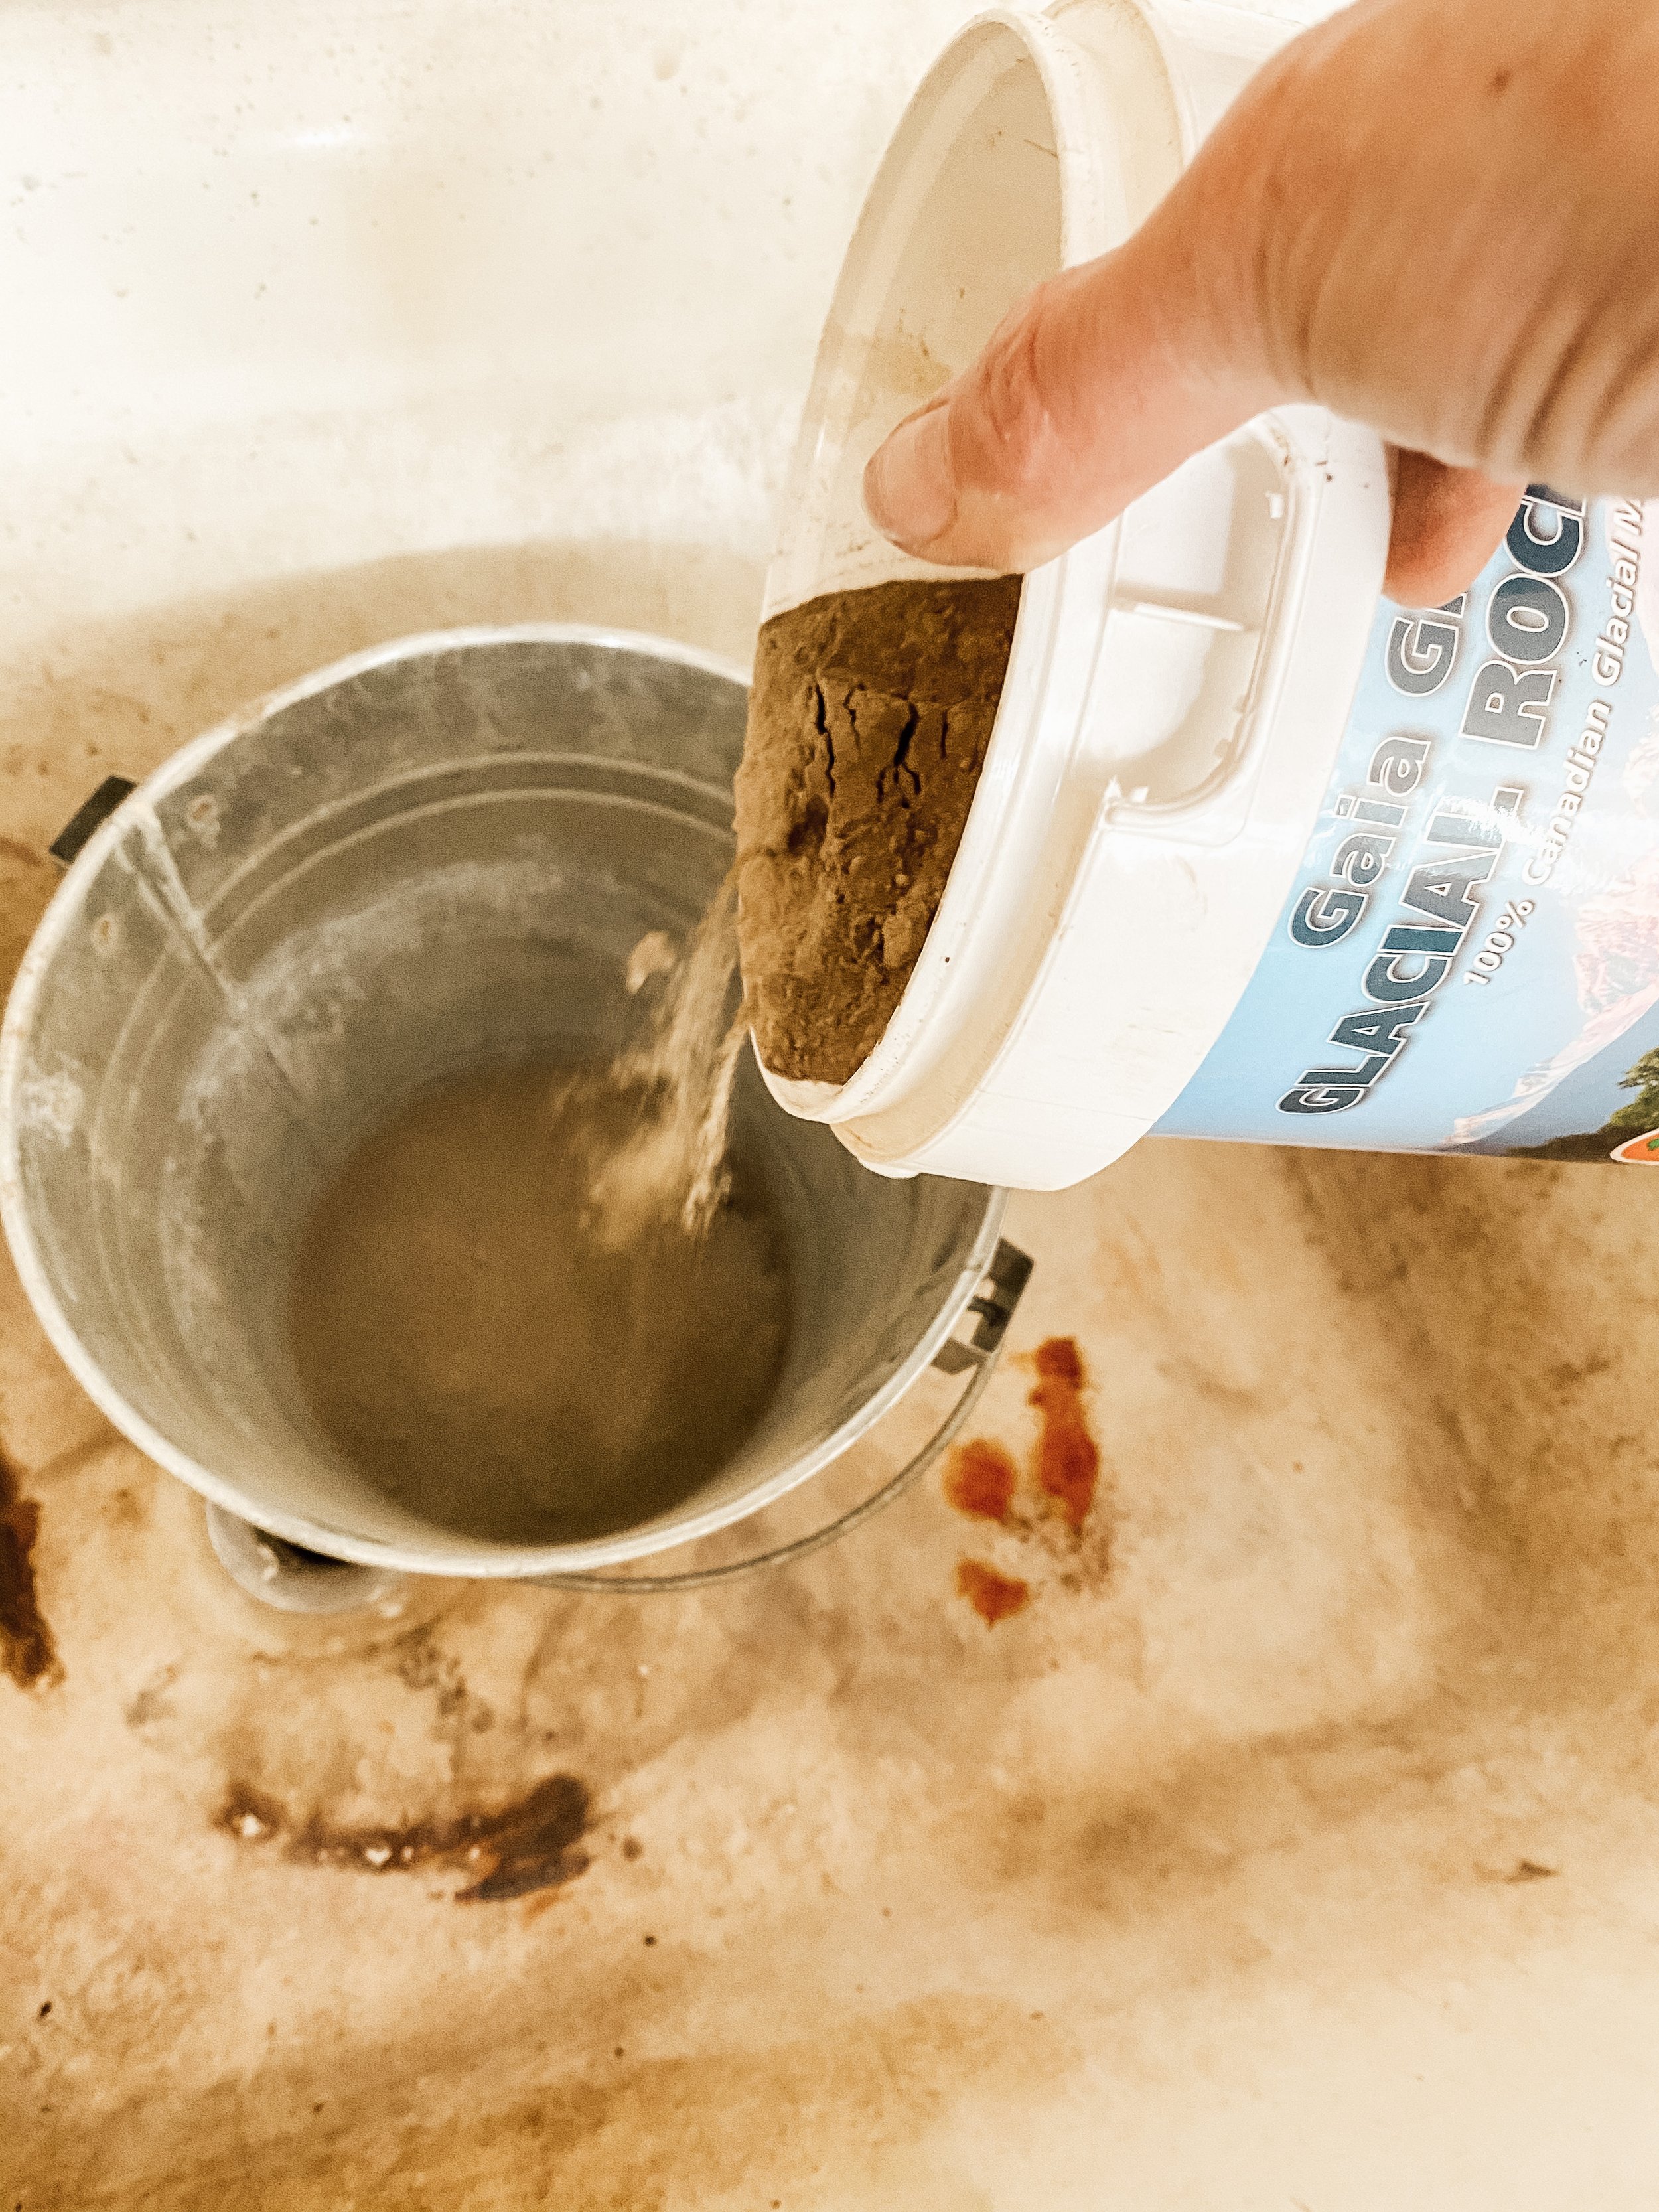
The first thing you will need to do is round up all your terracotta pots I like to do the drip plate as well. Then find a mixing container, anything will do! Put in about a cup of the Mineral Dust and add enough water so the mixture is very a very soupy runny muddy mixture. It will keep settling to the bottom so you will have to keep mixing as you go, I just kept mixing it with my paint brush for ease and it filled the brush will product as well.


Then take a pot it works best if you just put one hand inside the pot and apply with the pot upside down. And literally just slap it on it will run a bit and that is perfect as it gives it a more natural uneven coat. You will notice that the terracotta just sucks the product and water up instantly leaving a textured sandy finish. Work your way around the pot till the entire pot has a coat be careful not to over work it as it will start to brush the texture off. Once you have the exterior of the pot coated flip it over so it sits up right on a surface to dry in the sun if you can is a good spot. I like to put a little more on the inside of the pot about the first two to the inches.
Leave pots to dry for about 24 hours at which point you can brush a little of the minerals off the pot if you so choose to to blend a little or just what ever appeals to your own eye. I personally prefer a heavy coat of the minerals. Now that the pot is dry, and you’ve done any touching up it is ready for two to three coats of matt clear coat I prefer to do that outside because its pretty stinky. This sets the mineral to the pot and makes it durable otherwise it will rub off, so you can’t miss this step!
At this point your pot is ready to go if you are happy with the look of it. I found that some of the pots after the sealer was applied were lighter than others and I was happy with them as is and some dried a little darker and I did care for them as much. So easy fix I took a little white paint and watered it down and dipped a paint brush in it, then tapped it on a paper towel so it was almost more of a dry brush application and just went around the pot with it to lighten it up a bit you can also at this point wipe it with a rag a bit if you get more paint on it than you desire. Once dry you can put another coat of sealer on it which I would do if its going to be exposed to the elements, if not then voila! You have a beautifully aged Terracotta pot!
You can refer to my IG hilts for a vlog of this process if you’d prefer!
Hope you will give this process a try and share with me how it turned out!
Happy DIY-ing sista’s!!
XO A.
